Daihatsu Copen Engine Overhaul
- 2021.11.06
- Copen, Daihatsu, Engine, Overhaul, Transmission
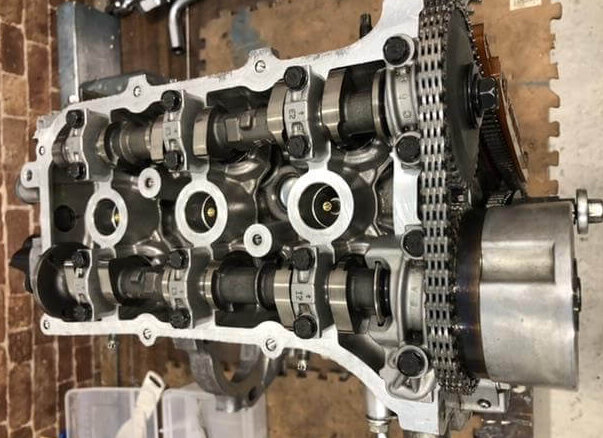
First, I drained the coolant, engine oil, and transmission oil, removed the bolts from under the sway bar and strut, shook the angle of the hub to pull out the drive shaft, and pried the drive shaft off the transmission side with a crowbar. I removed the front side of the muffler, disconnected the battery, disconnected the water hoses, disconnected the harness couplers, removed the intercooler, intake hoses, intake manifold, removed the turbine with the exhaust manifold (leaving the oil lines attached to the turbine), removed the lower center engine mount, put the engine on a dolly and removed the left and right engine mounts. The engine was then placed on a dolly, the mounts were removed from both sides, and the vehicle was lifted up and the engine and transmission were lowered. I left the compressor, condenser, radiator, etc. in the car. I removed the alternator because it hits the member when I unload it. I couldn’t lift it, so I slid the dolly and workbench up to the same height. The head cover is open. There is nothing wrong with it. Removing the oil pan, I came face to face with the crank. No damage was found. There […]

