Porsche Cayman How to Remove the Front Bumper.
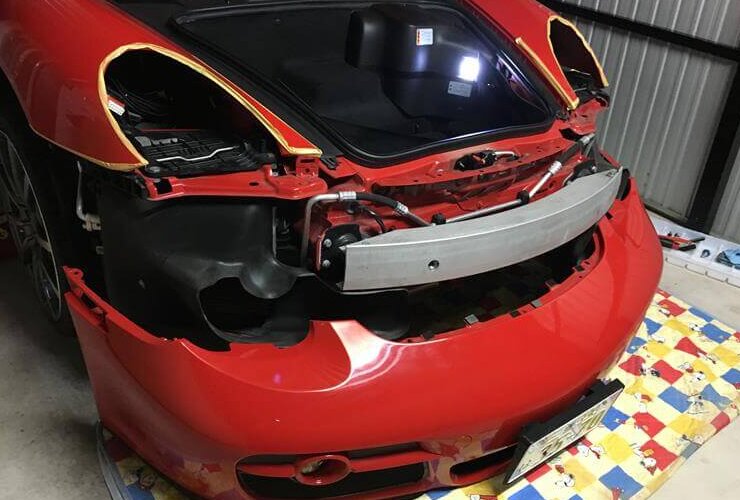
First, remove the headlight with the attached tool. How to remove is written in the instruction manual. After removing the headlights, also remove the connectors that connect the fog lights and the small lamps. Taking a picture of each will help you when you put them back. Remove the 7 Torx screws under the bumper. Remove the side marker. Also remove the lens. Remove the Torx screw on the inner fender. Jacking up creates space and makes it easier to work. The most difficult part this time. Slide the inner fender and remove the Torx screw that is stopped upward on the side marker. (Yellow arrow part) Remove two places on the left and right of the clip. Remove the three Torx screws that are fastened from the top of the trunk. Pull the bumper forward. Put masking tape on the parts that are likely to be scratched. Porsche Cayman bumper removal is complete.