Honda S2000 Replacing the Tail Lens Gasket
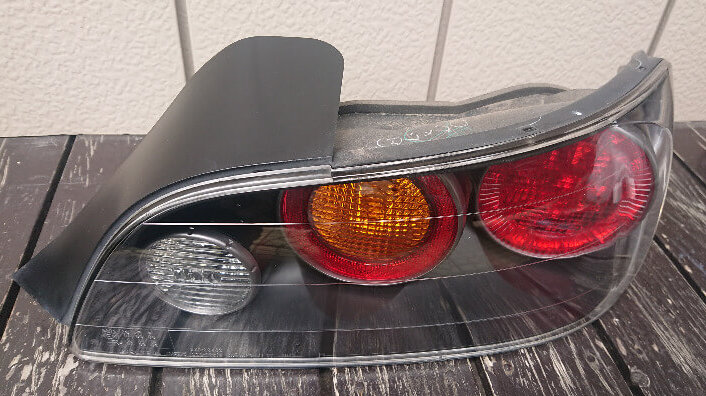
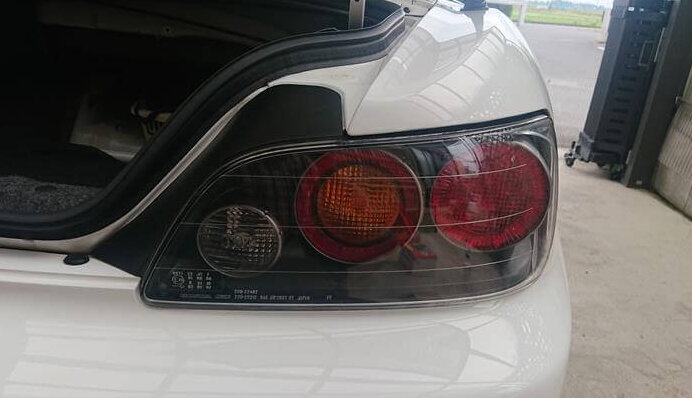
There is nothing wrong with the tail lens, but in consideration of the model year, the gasket was replaced before the lens was flooded.
I forgot to take a picture, but the part numbers of the gaskets are as follows. Please note that the product numbers are different on the left and right.
Right: 33502-S2A-A11
Left: 33552-S2A-A11
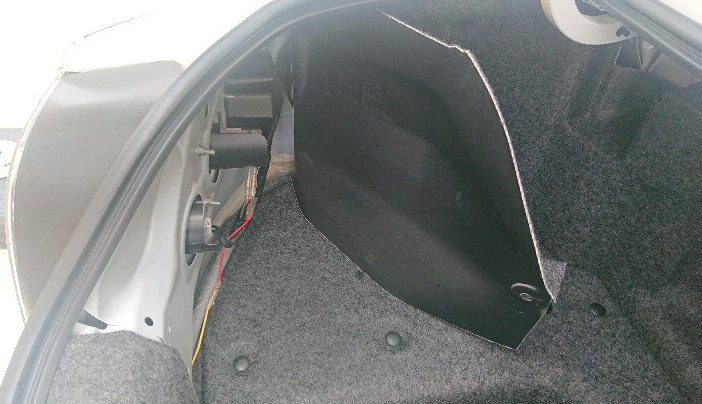
Part of the interior of the trunk will be removed. It is not necessary to remove all of them, just remove them by turning over only the area around the tail lens.
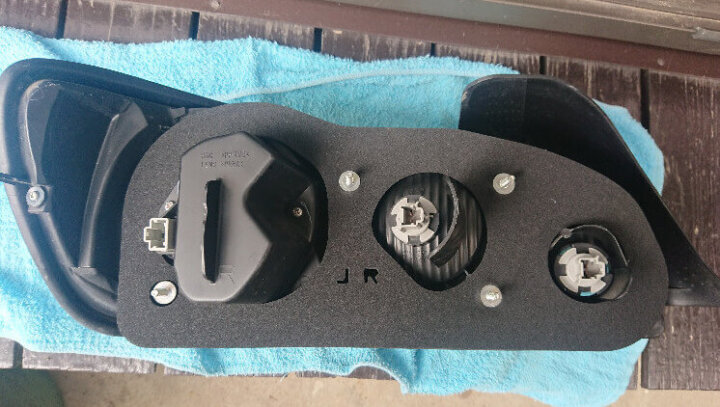
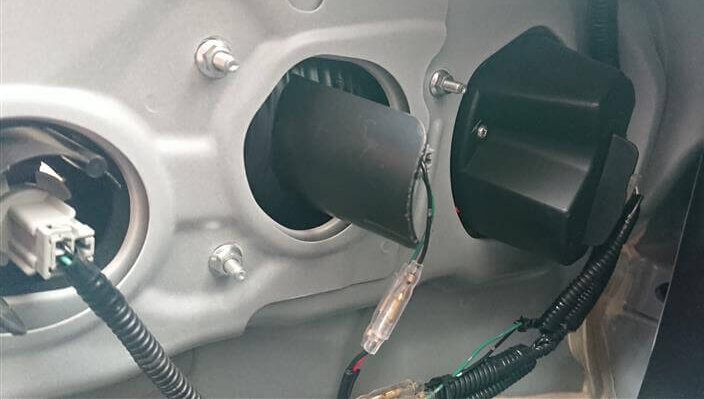
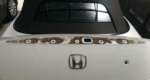
The lens is fixed with 4 nuts. Work is easier with a 10mm deep socket. Be careful not to forget to remove the couplers.
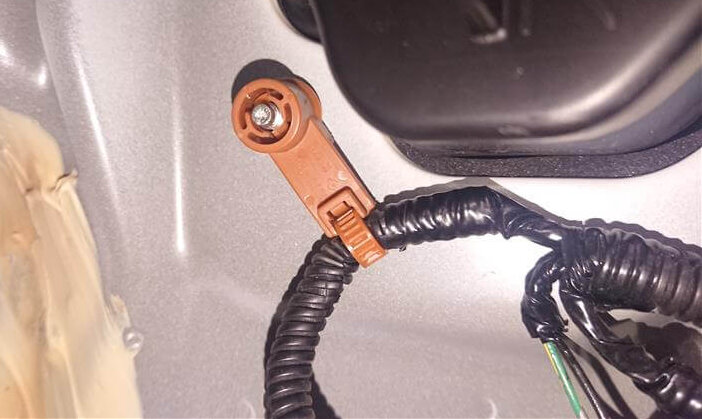
The nut at the back has a clip to fix the wiring, so remove it by interior remover.
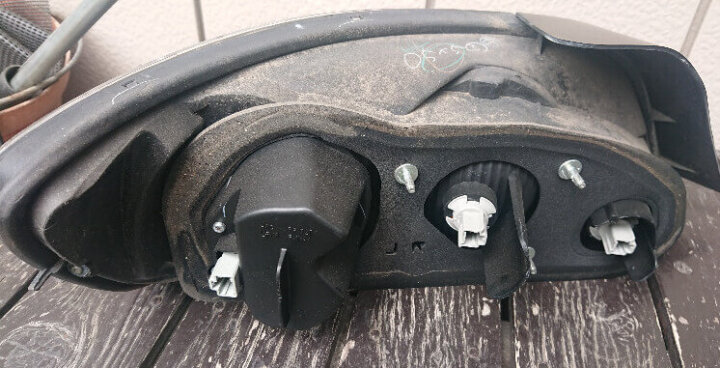
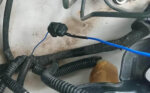
It is very dirty when the lens body is removed. While replacing the gasket, also clean it.
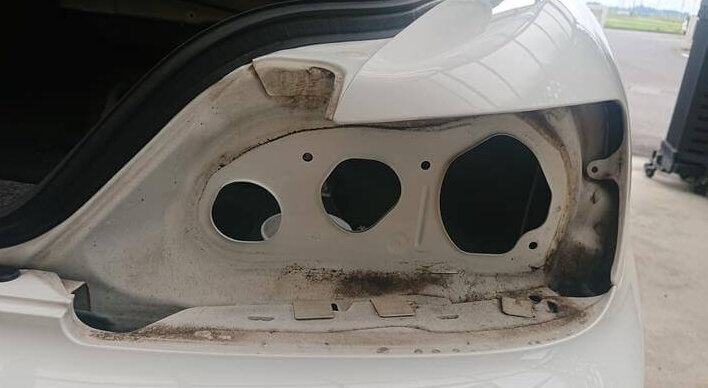
The car body side is also quite dirty. Mud stains can cause rust, so it’s best to keep them as clean as possible.

Install a new gasket. The side with double-sided tape is the lens side.
It will recover in the reverse order. Actually, I didn’t know the tightening torque of this nut, so I went to the dealer and asked, but it seems that it is not listed in the service manual.
It can’t be helped, so it’s a fairly analog method, but before removing it with a torque wrench, I measured it in the manner of retightening.
If it is 10 Nm, it will not turn and a signal will be output, and if it is 11 Nm, it will be turned a little and then a signal will be output. That means that the tightening torque is 10 Nm or more and less than 11 Nm.
From the above experimental results, it was fixed at 10 Nm. If you don’t have a torque wrench, you may damage the lens if you tighten it too tightly, so it’s a good idea to stop it moderately.
It’s done!
- Previous Posts
Honda S2000 Cleaning Around the High Mount Stop Lamp 2021.08.10
- Next Post
Honda S2000 How to Get the Engine Revolution Signal 2021.08.14